223 Python GPIO Control
This course helps learners understand the core principles of Python GPIO Control through hands-on robotics practice. Learners move beyond concept memorization by building circuits, writing control code, testing sensor data, debugging errors, and presenting a working prototype.
0. Reason for Education and Ultimate Goal
The ultimate goal is for learners to design, build, test, and explain a practical robotics artifact related to Python GPIO Control. By the end of the course, they will be able to connect hardware, software, data, and user scenarios into a reliable physical computing or robotics solution.
Referenced Private Education Flow
- A private Arduino and robotics bootcamp flow focused on repeated build-upload-debug cycles rather than long theory lectures.
- A US/UK coding academy style sequence that connects sensors, actuators, microcontrollers, and project-based challenges step by step.
- A European professional robotics training flow combining C/C++ control syntax, electronics safety, and engineering documentation.
- A maker studio workshop flow that ends with circuit verification, prototype refinement, demo presentation, and portfolio documentation.
Understanding the structure of Python GPIO Control
Learners identify the components, signals, constraints, and safety rules required for the project.




| Section | Detailed content | Practical teaching method |
|---|---|---|
| Goal 1 | Explain the system structure | Break down real-world examples into input sensors, processing boards, power sources, and output devices. Run a paired practical activity: one learner operates the device while another records evidence, errors, and improvement ideas. |
| Goal 2 | Set up the development environment | Configure Arduino IDE, board type, serial port, libraries, and a Wokwi or Tinkercad simulation. Run a paired practical activity: one learner operates the device while another records evidence, errors, and improvement ideas. |
| Goal 3 | Apply safety rules | Check polarity, short circuits, resistor values, current limits, and safe wiring before powering the circuit. Run a paired practical activity: one learner operates the device while another records evidence, errors, and improvement ideas. |
| Platforms | Arduino IDE, Tinkercad Circuits, Wokwi, Serial Monitor, Google Slides, Notion |
|---|---|
| Instructor spec | Experience with Arduino robotics, C/C++ basics, sensor/actuator wiring, debugging guidance, and project-based maker education. |
| Target learners | Upper elementary, middle school, high school, or beginner robotics learners depending on class level. |
| Duration | 6–15 hours depending on learner level and prototype depth. |
| Materials | Laptop, Arduino-compatible board, USB cable, breadboard, jumper wires, LEDs, resistors, sensors, actuators, batteries, safety checklist, worksheet. |
| Output | Working robotics prototype, circuit diagram, source code, debugging log, and short presentation. |
| Assessment | Concept understanding 25%, implementation 35%, debugging 20%, documentation and presentation 20%. |
Building and coding a Python GPIO Control prototype
Learners implement input-output logic with Arduino, sensors, actuators, and serial monitoring tools.


| Section | Detailed content | Practical teaching method |
|---|---|---|
| Goal 1 | Implement control logic | Use variables, conditional statements, loops, and functions to control LEDs, buzzers, motors, or sensors. Run a paired practical activity: one learner operates the device while another records evidence, errors, and improvement ideas. |
| Goal 2 | Observe data and behavior | Use Serial Monitor and test tables to compare expected values, actual readings, and device responses. Run a paired practical activity: one learner operates the device while another records evidence, errors, and improvement ideas. |
| Goal 3 | Debug hardware and code | Locate wiring mistakes, pin mismatches, syntax errors, timing issues, and unstable sensor values. Run a paired practical activity: one learner operates the device while another records evidence, errors, and improvement ideas. |
| Platforms | Arduino IDE, Tinkercad Circuits, Wokwi, Serial Monitor, Google Slides, Notion |
|---|---|
| Instructor spec | Experience with Arduino robotics, C/C++ basics, sensor/actuator wiring, debugging guidance, and project-based maker education. |
| Target learners | Upper elementary, middle school, high school, or beginner robotics learners depending on class level. |
| Duration | 6–15 hours depending on learner level and prototype depth. |
| Materials | Laptop, Arduino-compatible board, USB cable, breadboard, jumper wires, LEDs, resistors, sensors, actuators, batteries, safety checklist, worksheet. |
| Output | Working robotics prototype, circuit diagram, source code, debugging log, and short presentation. |
| Assessment | Concept understanding 25%, implementation 35%, debugging 20%, documentation and presentation 20%. |
Testing and presenting a Python GPIO Control solution
Learners refine the prototype, document the design process, and present the working result.
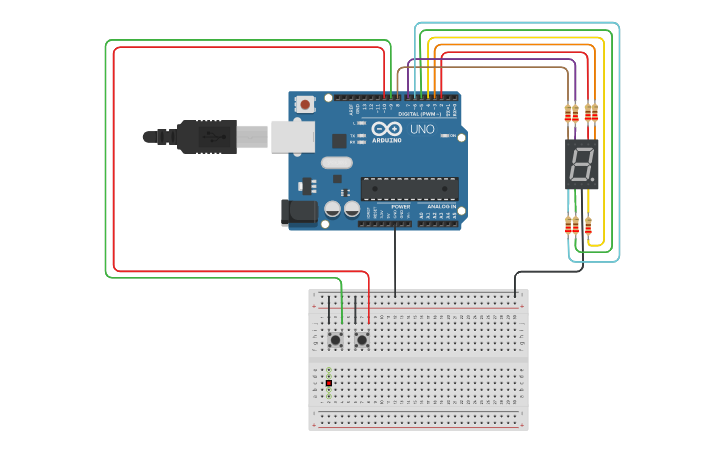

| Section | Detailed content | Practical teaching method |
|---|---|---|
| Goal 1 | Design a user scenario | Define a real use case, user need, success criteria, and operating condition for the robotics prototype. Run a paired practical activity: one learner operates the device while another records evidence, errors, and improvement ideas. |
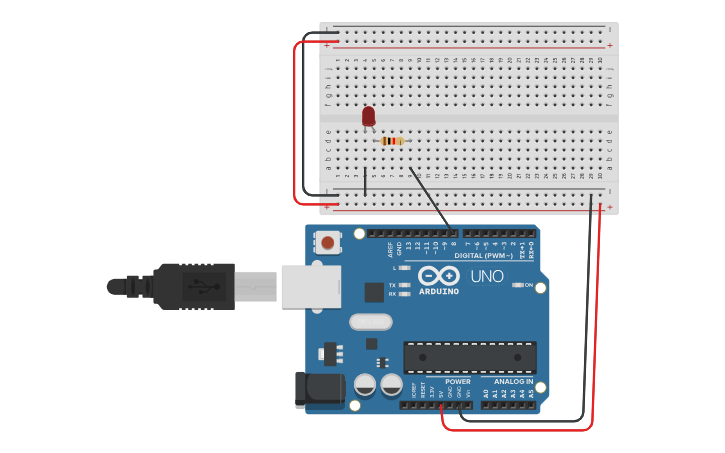
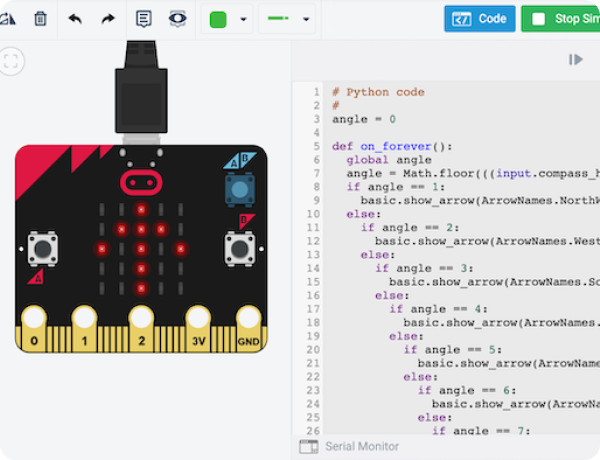
| Goal 2 | Complete a working prototype | Integrate circuit, code, enclosure idea, and output behavior into a stable demonstration model. Run a paired practical activity: one learner operates the device while another records evidence, errors, and improvement ideas. |
| Goal 3 | Present and improve the result | Create a short demo, explain the engineering choices, collect feedback, and revise the prototype. Run a paired practical activity: one learner operates the device while another records evidence, errors, and improvement ideas. |
| Platforms | Arduino IDE, Tinkercad Circuits, Wokwi, Serial Monitor, Google Slides, Notion |
|---|---|
| Instructor spec | Experience with Arduino robotics, C/C++ basics, sensor/actuator wiring, debugging guidance, and project-based maker education. |
| Target learners | Upper elementary, middle school, high school, or beginner robotics learners depending on class level. |
| Duration | 6–15 hours depending on learner level and prototype depth. |
| Materials | Laptop, Arduino-compatible board, USB cable, breadboard, jumper wires, LEDs, resistors, sensors, actuators, batteries, safety checklist, worksheet. |
| Output | Working robotics prototype, circuit diagram, source code, debugging log, and short presentation. |
| Assessment | Concept understanding 25%, implementation 35%, debugging 20%, documentation and presentation 20%. |